

Brakes 6.03
Brake pads
Brake pads are cheap, but the wrong compound or a worn-out pad changes how a bike stops. This is a straightforward guide to help lift the mystery: which pads to choose, how to tell when they're worn, and how to make new ones work properly.
Get the printable PDFThree kinds of pad
Resin (organic)
Quiet, bite quickly and are kind to rotors. Wear faster, especially in wet and mud.
Semi-metallic
A mix of the two. A good middle ground for most riding.
Sintered (metal)
Last longer in mud and handle heat better. Noisier and harder on rotors.
Which pads do I need?
- Find your brake model. It's usually on the caliper. Pad shapes are made for each caliper, so the model decides the shape.
- Check the rotor. Some rotors are marked "resin pads only". Don't fit sintered pads to those.
- Choose the compound for how and where you ride. Resin for quiet road and dry riding, sintered for long descents, mud and heavy bikes.
- Look at the pads every few rides. Shine a torch into the caliper. Replace them before the limit over the page.
When to replace them
| Brake | Replace at | Measured |
|---|---|---|
| Shimano | 0.5 mm | Pad material only |
| SRAM | 3 mm | Pad and backing plate together |
| Magura | 2.5 mm | Pad and backing plate together |
| Others | check the manual |
Replace sooner if the pads are glazed, contaminated with oil or fluid, or the spring touches the rotor.
Bedding in new pads
| Step | What to do |
|---|---|
| 1 | Find a safe, quiet, flat stretch |
| 2 | Ride at a steady speed and brake firmly to walking pace |
| 3 | Repeat 10 to 20 times, front and back |
| 4 | Don't lock the wheels or stop dead |
Tools
- Torch to check the pads
- Pad spreader or plastic tyre lever
- Clean rag and isopropyl alcohol
- Allen key or pliers for the pad pin
Things that catch people out
- Oil on the pads ruins them. Once contaminated, replace them and clean the rotor. Don't try to save them.
- Pad shapes look alike but aren't. Order by the caliper model, not by eye.
- New pads need bedding in. Until they are, the brakes feel weak and may squeal.
- Push the pistons back before fitting new pads. Use a plastic tool, not a screwdriver. Don't pull the brake lever while the wheel is out.
- Sintered pads wear rotors faster. And some light rotors are made for resin pads only.
From the workshop
If your brakes have gone noisy or weak and the pads still look thick, they may be contaminated or glazed. A fresh set of pads and a cleaned rotor usually brings them back. Bring it in if you'd like us to sort it.
Michael
Book it inBrake pads in the shop
See them all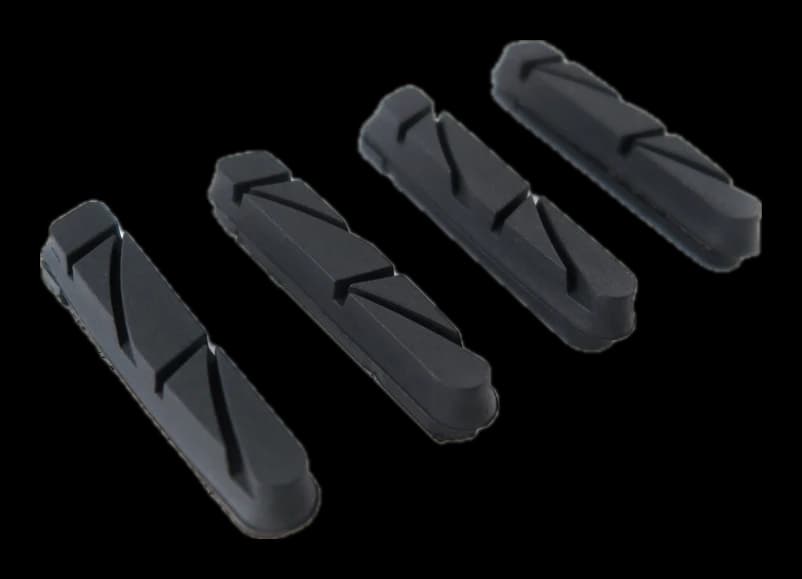
Not sure which fits? Send us your bike's make, model and year and we'll tell you.
Get the printable PDF
The same guide on two A4 pages, to print for the workshop or keep on your phone. Leave your email and we'll send the link. It unlocks every guide in the library on that device.
Already unlocked on this device? Download the PDF
This guide is general advice for home mechanics. Bikes and parts vary, so always follow the maker's instructions and torque settings for your parts. If you're not sure, or the job needs tools you don't have, ask a qualified mechanic. Travers Bikes can't be responsible for work you carry out yourself. Nothing here affects your legal rights. Sizes checked 16/11/2026 against BikeRadar's brake pad guide and Shimano, SRAM and Magura pad limits.