|
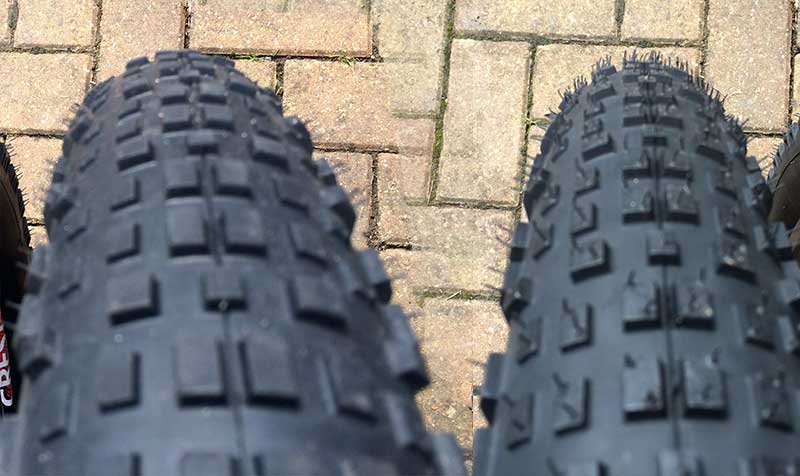
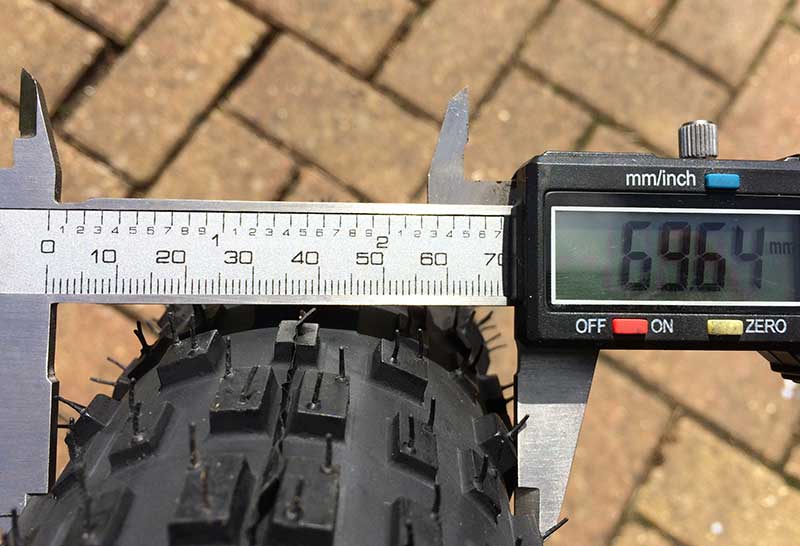
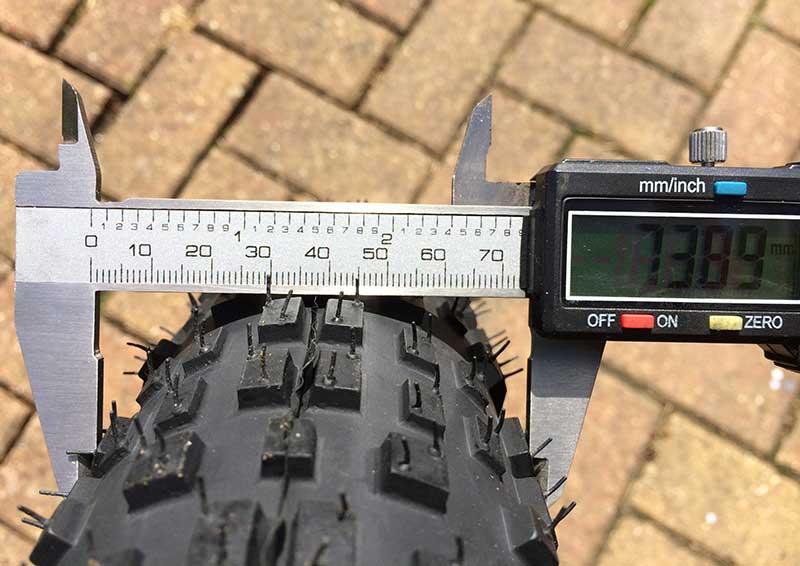
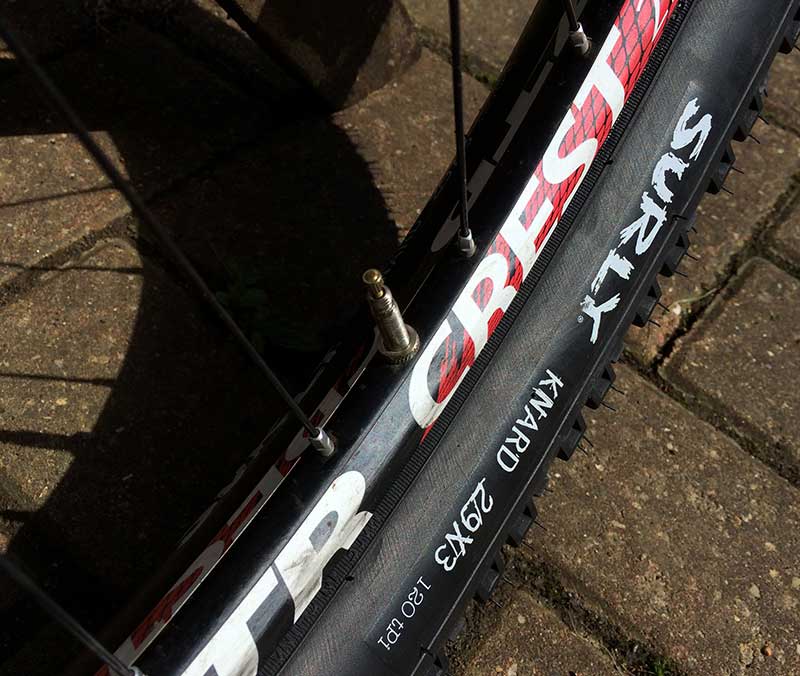
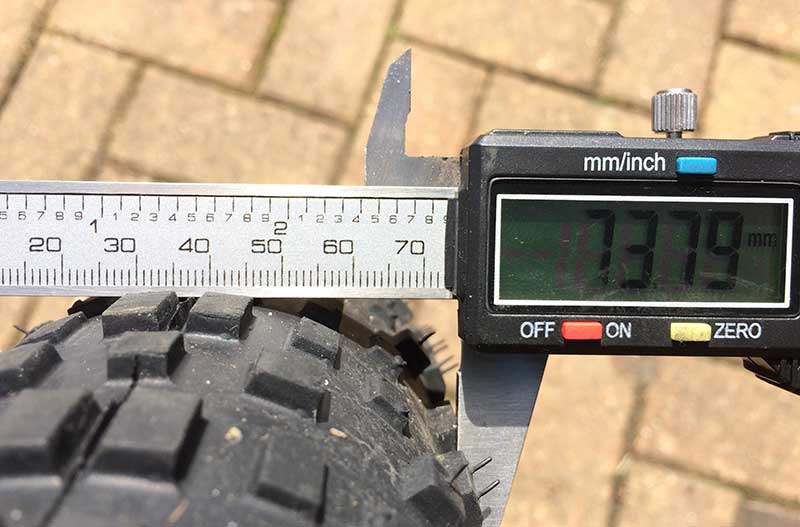
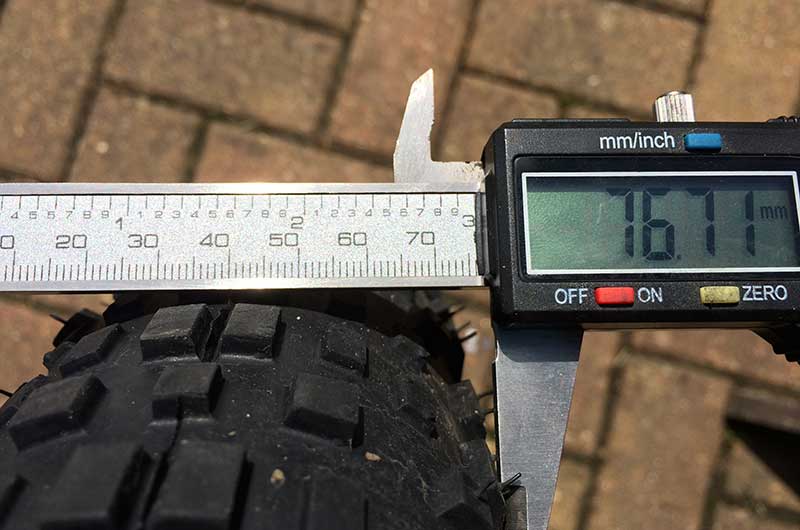
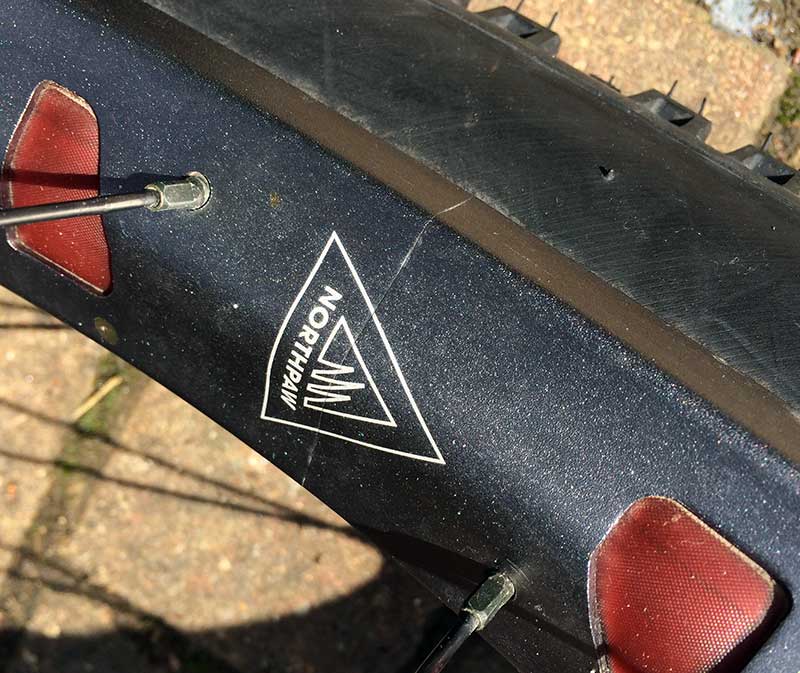
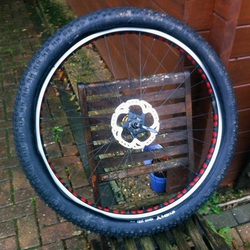
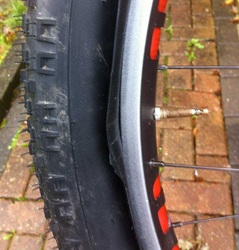
I have just got the Rudy Fat 29+ test bike back after its tour of European magazines and mountain bike websites and I thought I would do a little test with the Knards 29x3 to see what they look like on Stans Crest rims. Before I start I would like to point out a few things, Surly recommend 35mm rims as the minimum (the Crests are narrower than that at 24.4mm, the Northpaw rims are 48mm) and the tyre used for the Northpaw rim is used but still has plenty of tread and is the same version as the new one 29x3" 120tpi. The idea of the test was to see the profile of the tyre on the narrower rim and how much it decreased the tyre width. I pumped both tyres up to the same pressure (20 psi). I chose this pressure because it middle ground for the tyre with maximum pressure being 35psi and people going as low as 10psi. Also coincidentally it is the pressure the tyres popped into place on the Stans rims creating a seal. The other difference is I ran the Stans rims tubeless and a tube on the Northpaw rims. Okay I guess I should start with the installation of the tyres: The Stans Crest rim: the Knard tyre was tight but still possible to install with just your thumbs and with the addition of some Stans fluid created a good seal, it took 2 or 3 hard pumps to create an air tight seal and for the tyre bead to start moving towards the rim edge, from this point the tyre inflated as normal and popped into place at 20psi there were a few points where the Stans fluid was bubbling out but a quick spin of the wheel and wiggle of the tyre seemed to sort this. I left the tyre overnight and it was still inflated to 19psi the next day. The Northpaw rim: The tyre was much harder to put on because it was so floppy on the rim, the only way to get the tyre to stay on was to inflate the inner tube enough to hold the tyre in shape. Once the tyre was on it was just a matter of pumping it up. The tyre bead did rise up on the rim but I simply deflated it slightly manipulated the tyre and then re inflated the tyre again. The side by side photos of the tyres inflated to 20psi are below the used tyre is on the Northpaw rim and gives a slightly flatter profile while the new Knard is installed on the Stans Crest rim (on the right) and has a more rounded profile. Considering the Northpaw rims are nearly exactly double the width of the Stans Crest rims the Knard tyre width is remarkably similar. There is only a 4mm difference in carcass width and 3mm in outer knobs width...both larger on the Northpaw. I have measured both the width of the carcass and the outer nobbles on both tyres. Even though the tyre on the Northpaw rim is used it still has the little rubber hairs bits proving that the outer nobbles have not worn down. Knard 29x3 120tpi on Crest rim Carcass width 69.64mm Knard 29x3 120tpi on Crest rim outer knobs width 73.89mm Knard 29x3 120tpi on Northpaw rim Carcass width 73.79mm Knard 29x3 120tpi on Northpaw rim outer knobs width 76.71mm
1 Comment
Finally got a spare moment to work on my own Road Elite custom build, 11 speed Ultegra, Tubeless Stans Alpha 400 wheels, Ritchey finishing kit...pictures soon!
As the title suggest I have managed to convert the Nothpaw rims to a tubeless setup using Knard 29×3 tyres.
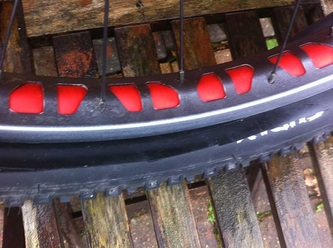
The pictures below are work in progress, this is my first successful conversions and obviously still need trimming but first a little history: I have read a couple of blogs and web forums about converting Fat Bike/29+ tyres to tubeless but wasn’t able to find anything specific about the Northpaw rims. I decided to try the the ghetto split tube method….it didn’t work. As soon as I took the tube out and remounted the tyre I realised that it was going to need some tweaking, the tyre simply feel off, it was too loose on the rim. A bit more research and I found the solution, foam placed down the center of the rim to stop the tyre dropping in. I found that pipe insulation works well as its quite firm and naturally rounded so it pushes the tyre out towards the edge of the rim (I taped this in place). Okay as I said before this is work in progress, I only had a 26″ tube so split this and placed it over the rim (covering the foam and flowing over the rim sides). Mounting the tyre was hard as there was now no central channel but it was still possible with just my thumbs…with a little patience! The tyre didn’t sit perfectly on the rim initially but I decided to see if it would inflate anyway (I hadn’t put any sealant in) and it did! The tyre inflate straight away, after a couple of pumps the tyre bead fell into place on the rim and popped into place once I got to about 10psi. Now I know this method works I can do it properly, I have ordered some 24″ inner tubes and Wheelgoo are sending me some sealant. I will post a better “how to guide” with pictures in a week or so once I get the bits and some spare time! Quick run down of method:
|
TRAVERS BIKES
HAND BUILT TITANIUM FRAMES. Archives
June 2024
Categories
All
|

 RSS Feed